Chili peppers are not only a staple in kitchens around the world but also a delight to grow at home. Imagine having a steady supply of fresh, spicy chilies from your terrace, balcony, or backyard. The YouTube video “How to Grow Chili Pepper in Container from Seed to Harvest” explains a complete step-by-step method for growing chili peppers in containers, making it easy even for beginners.
Container gardening allows urban gardeners and busy individuals to grow productive chili plants in small spaces, ensuring a fresh and continuous supply of chili peppers throughout the season. This blog will guide you through everything, from seed selection to harvesting, including soil preparation, watering, fertilization, pest management, and tips for maximum yield.
Why Grow Chili Peppers at Home
Homegrown chili peppers offer numerous benefits:
Freshness and flavor: Store-bought chilies may lose flavor over time, but homegrown ones are fresh and fiery.
Organic and chemical-free: Control fertilizers, pesticides, and growth conditions.
Space-saving: Perfect for containers on terraces, balconies, and small gardens.
Cost-effective: Reduce grocery bills by growing your own supply.
Continuous harvest: With proper care, chili plants produce for months.
Even small spaces can yield a bountiful harvest of chilies with container gardening.
Step 1: Choosing the Right Chili Pepper Variety
Choosing the right variety depends on taste preference, climate, and growth conditions.
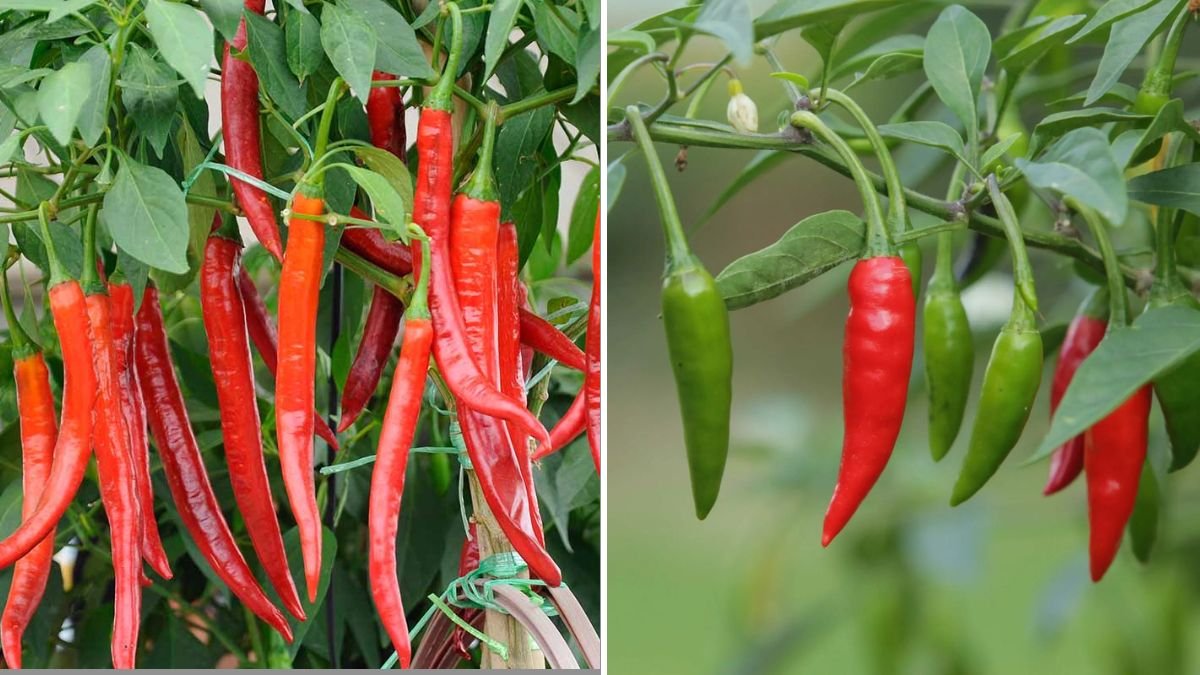
Popular chili varieties for container gardening:
- Cayenne: Long, slender, and moderately hot.
- Jalapeno: Medium heat, perfect for sauces and pickles.
- Bird’s Eye Chili: Very hot and compact plants ideal for containers.
- Bell Pepper: Mild, sweet variety for cooking.
Tips:

- Select seeds from reputable suppliers for high germination rates.
- Compact or dwarf varieties are better suited for container growth.
- Consider your climate; some chilies thrive in hot weather, others in moderate temperatures.
Step 2: Preparing Containers
Chili peppers thrive in containers if provided with adequate drainage and space for roots.
Container options:
- Medium to large pots (minimum 12 inches deep)
- Grow bags or recycled containers
- Styrofoam boxes or plastic tubs
Key points:
- Ensure containers have drainage holes at the bottom to prevent waterlogging.
- Use sturdy containers that won’t tip over when plants grow heavy.
- Space containers 12–18 inches apart to allow airflow and sunlight.
Step 3: Preparing Soil
Chilies need nutrient-rich, well-draining soil to thrive.
Recommended soil mix:
- 40% garden soil or loamy soil
- 30% compost or well-rotted manure
- 20% sand or perlite for drainage
- 10% coco peat or peat moss for moisture retention
Tips:
- Mix soil thoroughly to ensure even nutrient distribution.
- Add bone meal or rock phosphate to support root development.
- Avoid heavy clay soil, as it may retain too much water and cause root rot.
Step 4: Sowing Chili Seeds
Starting chilies from seed ensures healthy, disease-free plants.
Steps for sowing seeds:

- Fill seed trays or small pots with a light seed-starting mix.
- Sow seeds 1/4 inch deep and cover lightly with soil.
- Keep soil moist but not soggy.
- Place trays in a warm, sunny location; seeds germinate in 7–14 days.
Pro Tip: Using a humidity dome or plastic cover can speed up germination.
Step 5: Transplanting Seedlings
Once seedlings have 2–3 true leaves, they are ready for containers:
- Fill containers with prepared soil mix.
- Dig a small hole slightly larger than the seedling’s root ball.
- Gently transplant seedlings and firm the soil around the base.
- Water immediately to reduce transplant shock.
Tips:
- Plant only 1 seedling per container for optimal growth.
- Space multiple containers 12–18 inches apart to allow sunlight and airflow.
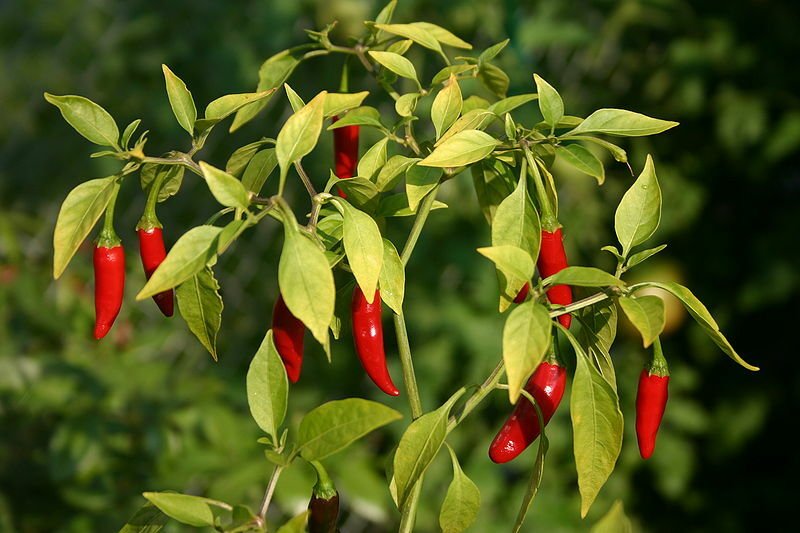
Step 6: Sunlight and Temperature Requirements
Chili plants thrive in warm temperatures and ample sunlight.
- Ideal daytime temperature: 20–30°C (68–86°F)
- Nighttime temperature: 15–20°C (59–68°F)
- Full sunlight for 6–8 hours daily
Tips:
- In hot climates, provide partial shade during peak afternoon hours.
- In cooler regions, use greenhouse covers or clear plastic sheets to maintain warmth.
Proper sunlight ensures healthy growth, flowering, and fruiting.
Step 7: Watering Chili Plants
Chilies need consistent moisture, especially during flowering and fruit development:
- Water deeply 2–3 times a week, depending on weather.
- Avoid overwatering; soggy soil can cause root rot.
- Mulch the soil with straw or dry leaves to retain moisture and prevent weeds.
Pro Tip: Self-watering containers or drip irrigation systems make watering easy and consistent, perfect for busy gardeners.

Step 8: Fertilization for Maximum Yield

Chili peppers are heavy feeders. Regular fertilization supports faster growth and higher yield.
- Vegetative stage: Nitrogen-rich fertilizers promote lush, green leaves.
- Flowering stage: Phosphorus-rich fertilizers encourage strong blooms.
- Fruiting stage: Potassium-rich fertilizers improve fruit size, flavor, and color.
Organic alternatives:
- Vermicompost every 2–3 weeks
- Banana peel powder for potassium
- Liquid seaweed extract for overall plant health
Step 9: Supporting Chili Plants
Some chili varieties can grow tall and may need support:
- Use stakes or bamboo poles to prevent plants from bending under fruit weight.
- Tie branches loosely with soft string to avoid damage.
- Avoid overcrowding, which can reduce airflow and increase disease risk.
Benefits:
- Keeps fruits clean and healthy
- Promotes stronger stems and better flowering
- Simplifies harvesting
Step 10: Pest and Disease Management
Common pests include aphids, whiteflies, and spider mites, while diseases can include powdery mildew or root rot.
Organic management strategies:
- Spray neem oil weekly to repel pests
- Remove yellow or infected leaves promptly
- Maintain spacing and airflow to prevent fungal infections
- Avoid waterlogging to prevent root diseases
Healthy plants ensure continuous flowering and fruiting.
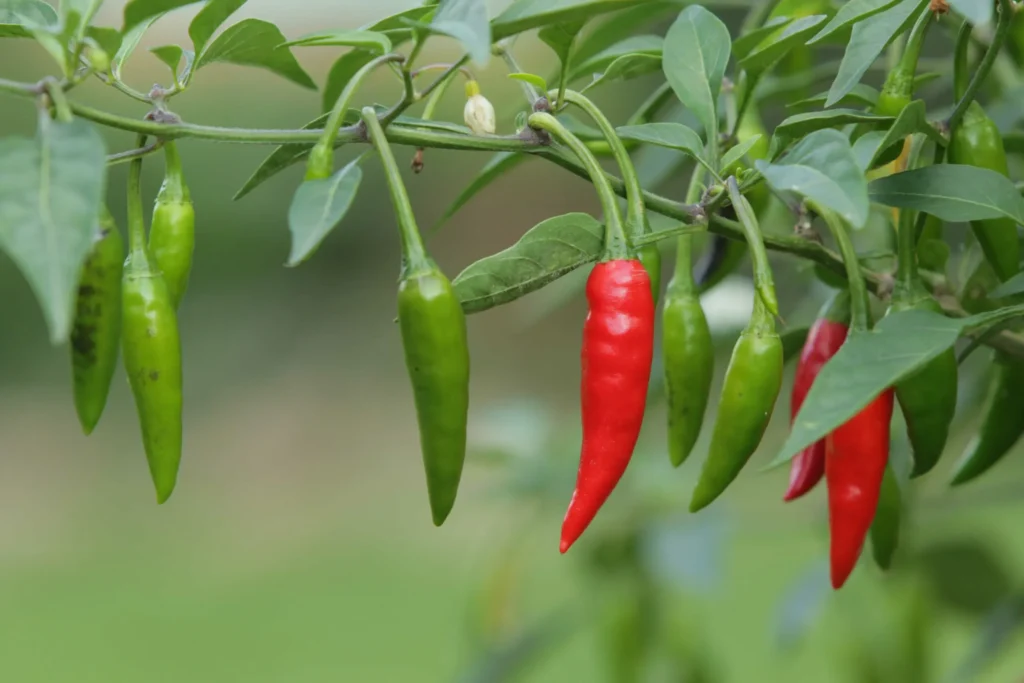
Step 11: Harvesting Chili Peppers

Chili peppers are ready for harvest 60–90 days after transplanting, depending on the variety:

- Harvest mature fruits when they reach full color and firm texture.
- Cut peppers with scissors to avoid damaging the plant.
- For continuous harvest, pick ripe fruits regularly; this encourages new growth.
Proper harvesting ensures a steady supply of chilies throughout the season.
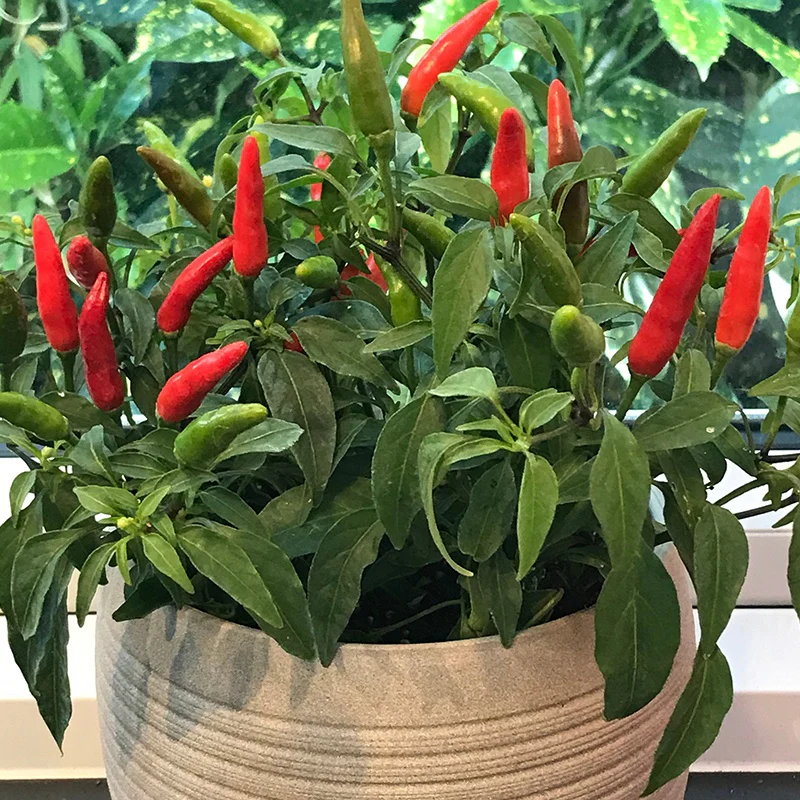
Step 12: Advantages of Container Chili Gardening
Container gardening makes chili cultivation easy and effective:
Space-efficient: Ideal for terraces, balconies, and small gardens.
Portability: Move containers to protect plants from extreme weather.
Controlled growth: Easily monitor soil, water, and nutrition.
Extended harvest: Plants produce consistently for months.
Organic and chemical-free: Grow safe and healthy chilies at home.
Even urban gardeners can enjoy a bountiful chili harvest without traditional garden space.
Step 13: Tips for Maximum Yield
- Provide 6–8 hours of sunlight daily.
- Water consistently but avoid overwatering.
- Fertilize at each growth stage with balanced nutrients.
- Mulch soil to retain moisture and reduce weeds.
- Use stakes or supports for taller varieties.
- Hand-harvest regularly to encourage continued fruiting.
Following these tips ensures healthy, spicy, and abundant chili harvests.
Step 14: Culinary and Health Benefits of Homegrown Chili
Homegrown chili peppers are versatile:
Fresh in salads, salsas, and sandwiches
Pickled or fermented for long-term storage
Used in sauces, curries, and marinades
Juiced or blended into smoothies
Health benefits:

- Rich in vitamin C and antioxidants
- Boosts metabolism and aids digestion
- Supports immunity and heart health
- Adds flavor without extra calories
Fresh, homegrown chilies are spicier, healthier, and more flavorful than store-bought options.
Conclusion: Grow Chili Peppers from Seed to Harvest
The YouTube video “How to Grow Chili Pepper in Container from Seed to Harvest” shows that container gardening makes chili cultivation easy, even for beginners.
By following these steps — choosing the right variety, preparing soil and containers, sowing seeds, watering properly, fertilizing, supporting plants, managing pests, and harvesting carefully — you can enjoy fresh, flavorful, homegrown chili peppers all season.
Start your container chili garden today and enjoy the spice, flavor, and satisfaction of growing your own fiery harvest right at home!