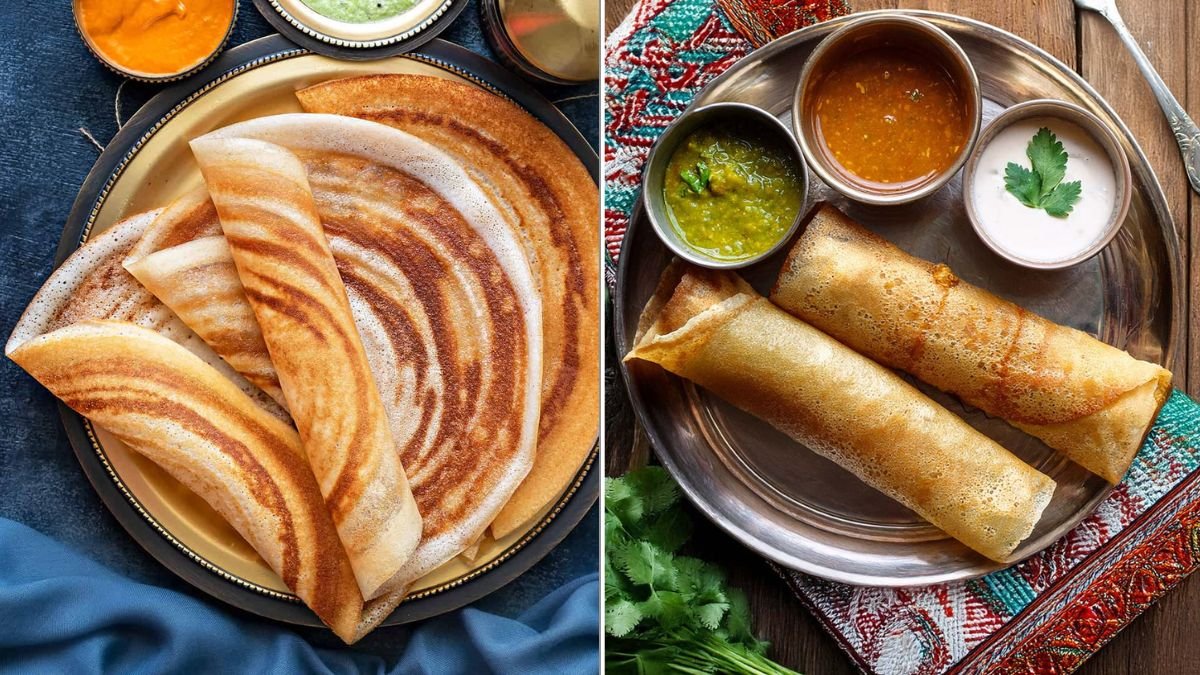
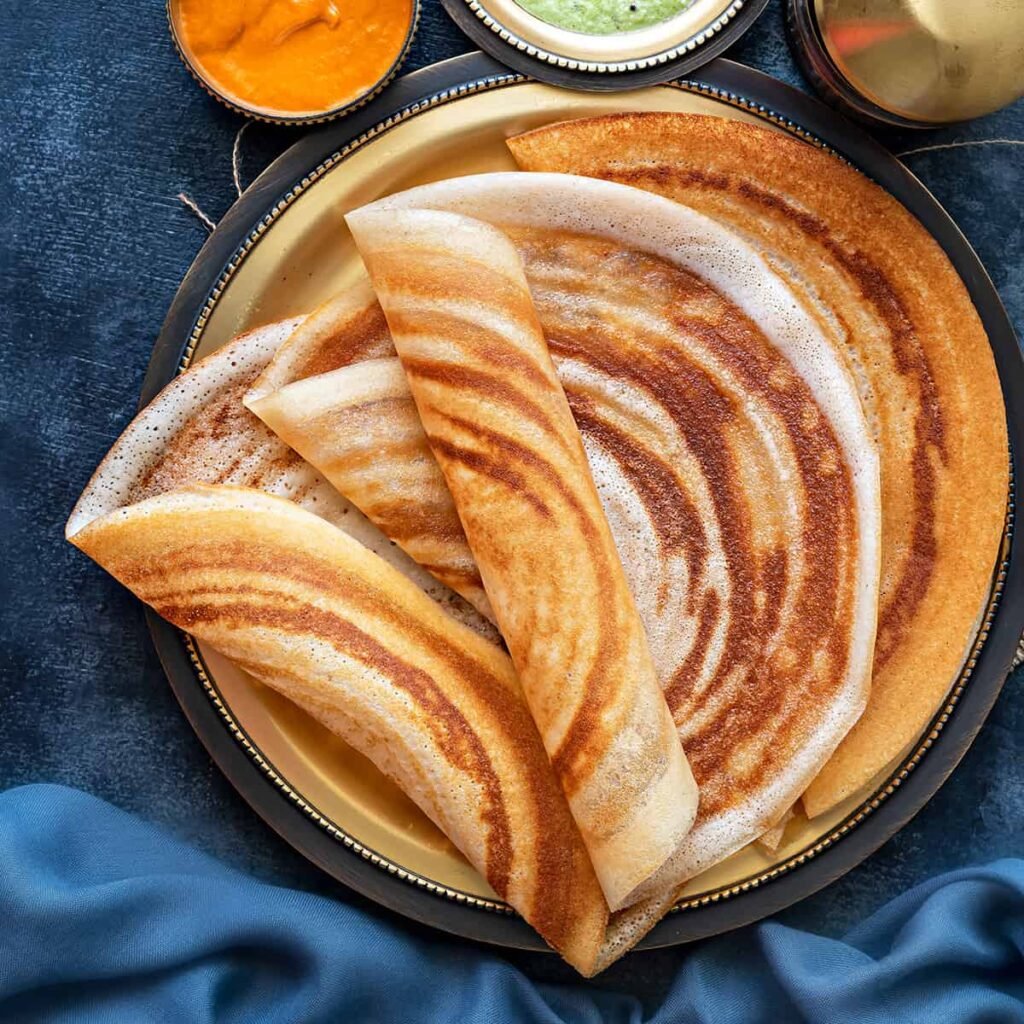
Few dishes capture the soul of South Indian cuisine quite like the dosa — a golden, paper-thin crepe made from fermented rice and lentil batter. It’s crisp on the outside, slightly soft in the center, and pairs beautifully with coconut chutney, spicy potato masala, or steaming sambar. While traditional dosas are often brushed with ghee or oil for that irresistible crunch, it’s absolutely possible to make crispy dosas without oil — if you master the right batter, heat, and technique.
Whether you’re following a low-fat diet or simply want a lighter version of your favorite breakfast, this 6-step guide will walk you through how to make perfectly crisp, golden dosas that taste just as good — all without a drop of oil.
Step 1: Choose the Right Ingredients for the Perfect Batter
A good dosa always begins with a well-balanced batter — one that ferments beautifully and spreads thinly. The key is getting the rice-to-lentil ratio and texture just right.
Ingredients for Dosa Batter (makes 10–12 dosas):
- Idli Rice (Parboiled Rice) – 2 cups
- Urad Dal (Split Black Gram, skinned) – ½ cup
- Fenugreek Seeds (Methi) – ½ teaspoon
- Flattened Rice (Poha) – 2 tablespoons (optional, for crispness)
- Salt – To taste
- Water – As needed
Why This Ratio Works:
- Rice gives structure and crispness to the dosa.
- Urad dal adds softness and helps fermentation.
- Fenugreek seeds improve flavor, color, and fermentation speed.
- Poha gives a restaurant-style thin crispiness without needing oil.
Pro Tip: Always use good quality urad dal — the fresher it is, the better your batter will rise.

Step 2: Soak and Grind for a Smooth, Spreadable Batter

Proper soaking and grinding ensure your batter ferments evenly and spreads well on the pan.
How to Soak:
- Rinse the idli rice 2–3 times, then soak it in water for at least 4–6 hours.
- In another bowl, soak urad dal and fenugreek seeds for 4 hours.
- If using poha, soak it for 20 minutes before grinding.
How to Grind:
- Grind the urad dal first. Drain it and add water gradually while grinding until it becomes light, fluffy, and smooth. (It should look like whipped cream.)
- Next, grind the rice to a slightly coarse paste, adding water little by little.
- Combine both batters in a large bowl. Add soaked poha and mix thoroughly with your hand — this helps introduce natural yeast for better fermentation.
Consistency Check:
The batter should be thick yet pourable, like pancake batter — not too runny or stiff.
Pro Tip:
If you’re using a mixer instead of a wet grinder, grind in small batches to avoid overheating, which can ruin fermentation.
Step 3: Ferment the Batter to Perfection
Fermentation is the heart of dosa-making — it’s what gives your batter the airy, tangy flavor that makes dosas light and crisp.

How to Ferment:
- Cover the bowl loosely and keep it in a warm, draft-free place for 8–12 hours or overnight.
- In the morning, your batter should have doubled in volume and be full of tiny air bubbles.
- Once fermented, gently stir the batter once or twice. Don’t overmix — you’ll lose the air that makes dosas rise slightly during cooking.
Fermenting in Cold Weather:
- Place the batter inside an oven with the light turned on (not heated).
- Wrap the bowl in a thick towel to keep it warm.
- Or keep it near a warm stove or water heater overnight.
Pro Tip:
Never refrigerate the batter before it ferments — cold temperatures will stop the process completely.
Step 4: Adjust the Batter for Oil-Free Crispiness
Once your batter has fermented well, you’ll need to prepare it for making oil-free dosas. The trick here is perfecting the consistency and pan temperature.
- Add salt to taste and ¼ to ½ cup of water to thin the batter slightly. It should spread easily when poured on the tawa.
- The batter should flow smoothly but not be watery.
- For extra crispiness, you can add 1 tablespoon of semolina (rava) or rice flour to the batter and mix gently.
This creates a beautifully crisp, lace-like dosa texture — all without oil!
Pro Tip:
For oil-free dosas, consistency is everything. A batter that’s too thick won’t spread well; too thin and it will stick or tear.

Step 5: Master the Art of Oil-Free Cooking on the Tawa
Now for the most important part — cooking your dosa without oil while keeping it crisp and golden.
Choosing the Right Pan:
- Use a cast iron tawa or a non-stick dosa pan.
- For traditional dosa flavor, cast iron is best, but it must be well-seasoned to prevent sticking.
How to Prepare the Pan:
- Preheat the tawa on medium heat for a few minutes.
- Sprinkle a few drops of water — if it sizzles immediately, it’s ready.
- Wipe the surface with a halved onion dipped in water (or lemon) — this cools the pan slightly and prevents sticking.
Spreading the Batter:
- Pour a ladleful of batter in the center of the pan.
- Quickly spread it outward in circular motions with the back of the ladle — as thinly as possible.
- Lower the heat slightly and let it cook uncovered.
Because you’re not using oil, let the dosa slowly crisp up as the moisture evaporates. It will begin to release from the edges naturally when done.
- Once golden brown, lift it gently with a flat spatula and fold it.
Pro Tip:
If the dosa sticks, your pan might not be seasoned well or is too hot. Wipe it clean and rub it with the onion again before making the next one.
Step 6: Serve Hot and Enjoy the Crispy Goodness
A dosa tastes best when eaten immediately off the tawa — when it’s hot, crisp, and golden. As it cools, it can lose its crunch.

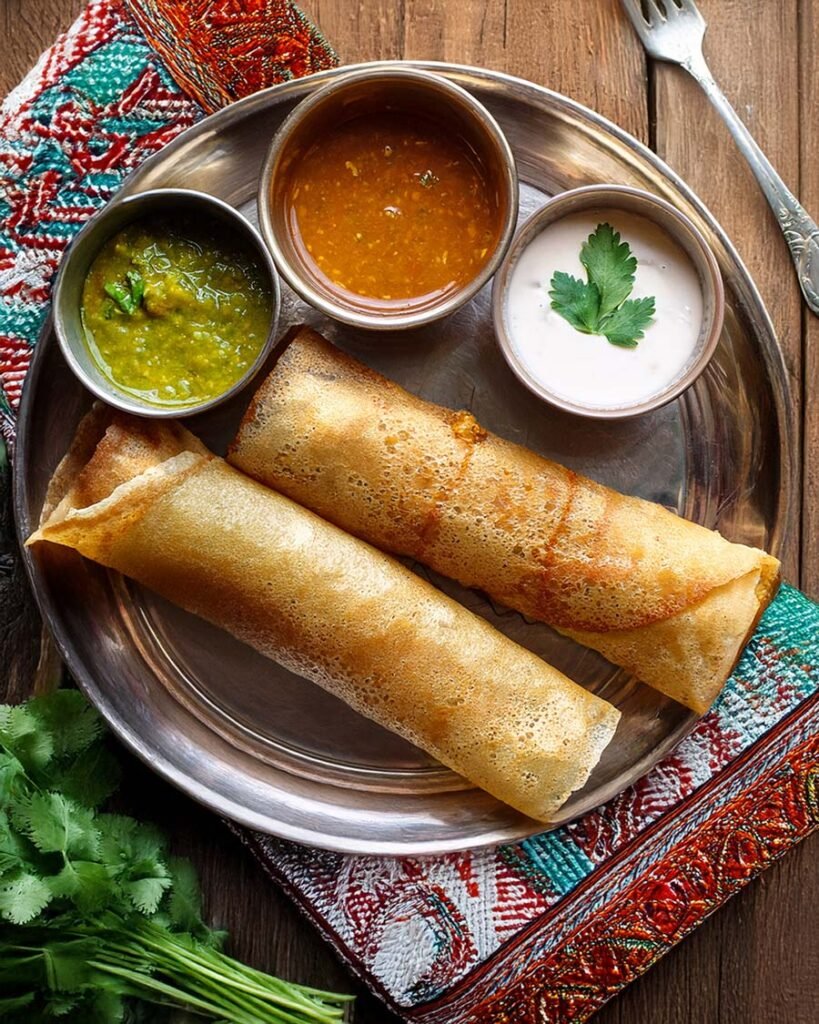
Classic South Indian Pairings:
- Coconut Chutney: Fresh coconut, roasted gram dal, green chilies, and tempered mustard seeds.
- Tomato Chutney: Tangy and spicy — the perfect contrast to crispy dosas.
- Sambar: A bowl of warm, flavorful lentil stew with vegetables and tamarind.
- Podi Chutney: Spicy dry powder made with lentils, sesame seeds, and red chilies — mix it with a few drops of water for an oil-free option.
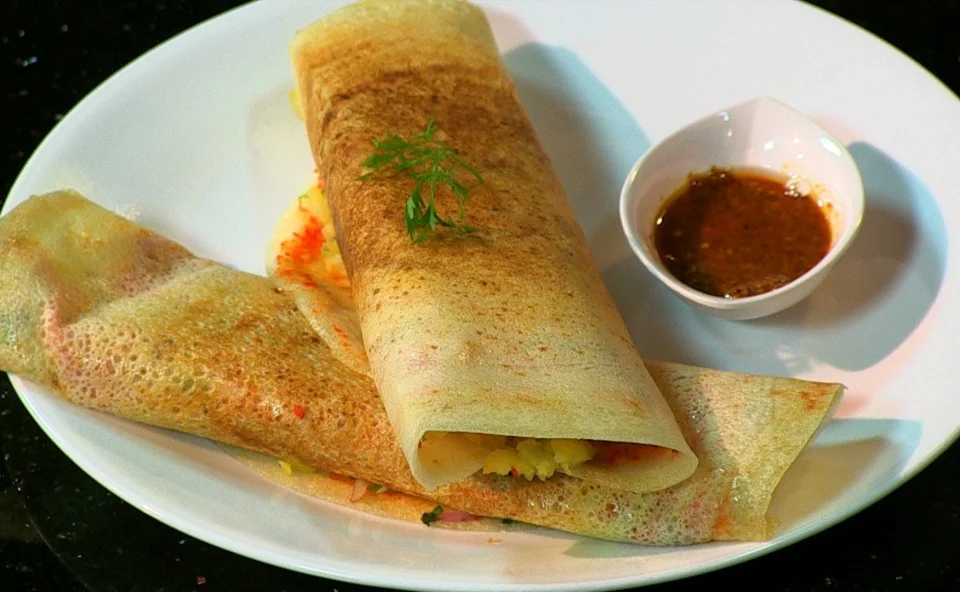
If you like experimenting, try stuffing your dosa with:
- Masala Dosa Filling: Spiced mashed potatoes with onions, mustard seeds, and curry leaves.
- Paneer Bhurji: For a protein-rich twist.
- Mixed Veg Filling: A colorful, healthy version with carrots, peas, and beans.
Pro Tip:
To keep dosas crisp for longer, place them on a cooling rack instead of stacking — this prevents steam from softening them.
Bonus Tips for Perfect Oil-Free Dosas
- Use a well-seasoned cast iron pan. A thin, naturally non-stick surface is key for oil-free dosa making.
- Avoid excess heat. Too much heat will burn the dosa before it turns crispy. Medium heat works best.
- Clean the tawa after each dosa. A wipe with a wet cloth helps maintain even temperature and texture.
- Don’t skip fermentation. Instant batters or unfermented mixes will never give the same taste or crispiness.
- Add a pinch of sugar to the batter before cooking — it helps the dosa brown beautifully.
- Serve immediately. Dosas lose crispiness as they sit, so serve each one hot off the pan.
Why Go Oil-Free?
Making dosas without oil doesn’t just make them lighter — it also makes them healthier. Traditional dosas fried in ghee or oil are delicious but can add unnecessary fat. Oil-free dosas:
- Are lower in calories and cholesterol-free.
- Have the same crisp texture when cooked properly.
- Are ideal for heart-healthy or weight-conscious diets.
- Taste just as authentic — thanks to proper fermentation and technique.
Final Thoughts
Cooking crispy dosas without oil might sound challenging, but once you master the technique, you’ll never look back. The secret lies not in the fat but in the science of fermentation, heat control, and patience.

In just six simple steps, you can make perfect dosas every single time:
- Choose the right ingredients
- Soak and grind correctly
- Ferment the batter till airy
- Adjust for ideal consistency
- Cook on a seasoned pan, oil-free
- Serve hot and enjoy immediately
The result? Light, golden, crispy dosas that are not only delicious but guilt-free — a true South Indian breakfast you can enjoy every day.
So grab your ladle, heat that tawa, and spread the batter thin. Watch as your dosa crisps up beautifully — proof that with the right technique, flavor never needs oil.