Celery is often considered a fussy plant to grow at home, requiring patience, consistent care, and ideal conditions. But what if you could harvest 10 times faster using simple, practical hacks? The YouTube video “Easy Celery Growing Hacks for Busy People – 10x Faster Harvests You’ll Wish You Knew Sooner” shares innovative tips that make celery cultivation easy, even for those with a busy lifestyle.
With these hacks, you can grow crisp, fresh, and organic celery at home, saving money and ensuring a steady supply for salads, soups, and juices. This guide will cover everything from seed selection to harvesting, including soil preparation, container choices, watering, and care tips.
Why Grow Celery at Home
Growing celery at home has several benefits:
Freshness and flavor: Homegrown celery is more flavorful than store-bought.
Cost-effective: Celery is expensive in markets; growing at home saves money.
Organic and chemical-free: You control the fertilizers and pesticides.
Convenience: Cut fresh celery straight from your garden whenever needed.
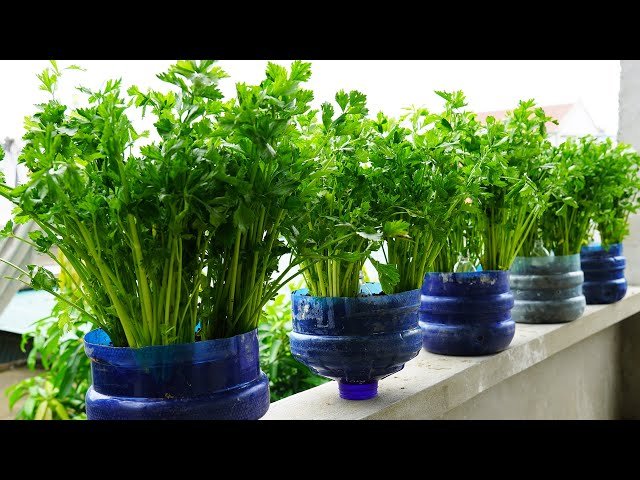
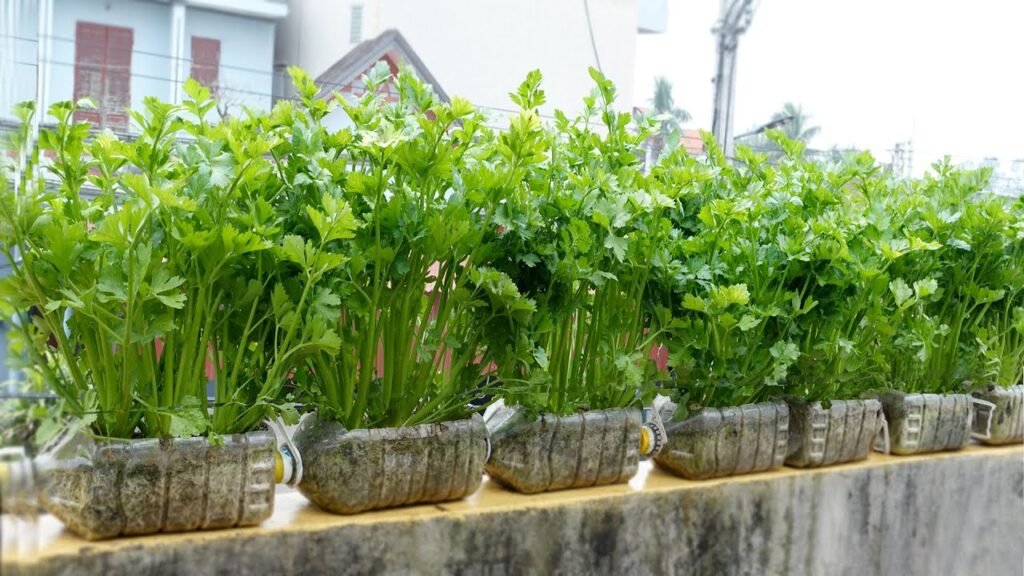
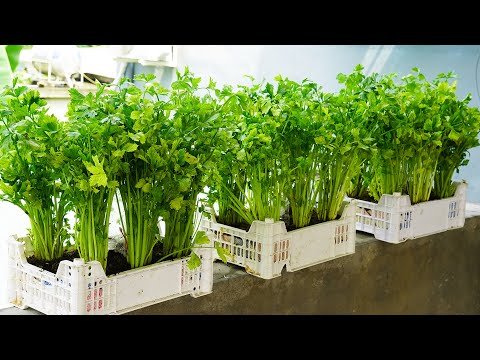
Compact growing: Celery thrives in containers, making it ideal for terraces and balconies.
Even busy people can enjoy continuous celery harvests with the right techniques.
Step 1: Choosing the Right Celery Variety
Celery comes in multiple varieties, each suited to different climates and growing methods.
Recommended varieties for home cultivation:
- Pascal Celery: Classic variety with long, crisp stalks.
- Golden Self-Blanching: Requires minimal blanching and care.
- Giant Red: Unique color and fast growth.
- Utah 52-70: High-yielding, disease-resistant variety.
Tips:

- Select seeds from reputable suppliers for better germination.
- For terraces or containers, choose compact or dwarf varieties.
- Look for disease-resistant types for minimal maintenance.
Step 2: Quick Celery Growing Hack – Regrow from Stalk Base
One of the easiest hacks from the video is regrowing celery from the base of used stalks:
Steps:
- Cut the bottom 2–3 inches of a celery stalk.
- Place the base in a shallow bowl of water.
- Keep it in sunlight and change water every 2–3 days.
- Within a week, you’ll see new roots and shoots emerging.
- Transfer to soil once roots are 1–2 inches long.
This hack allows fast regrowth without starting from seeds.
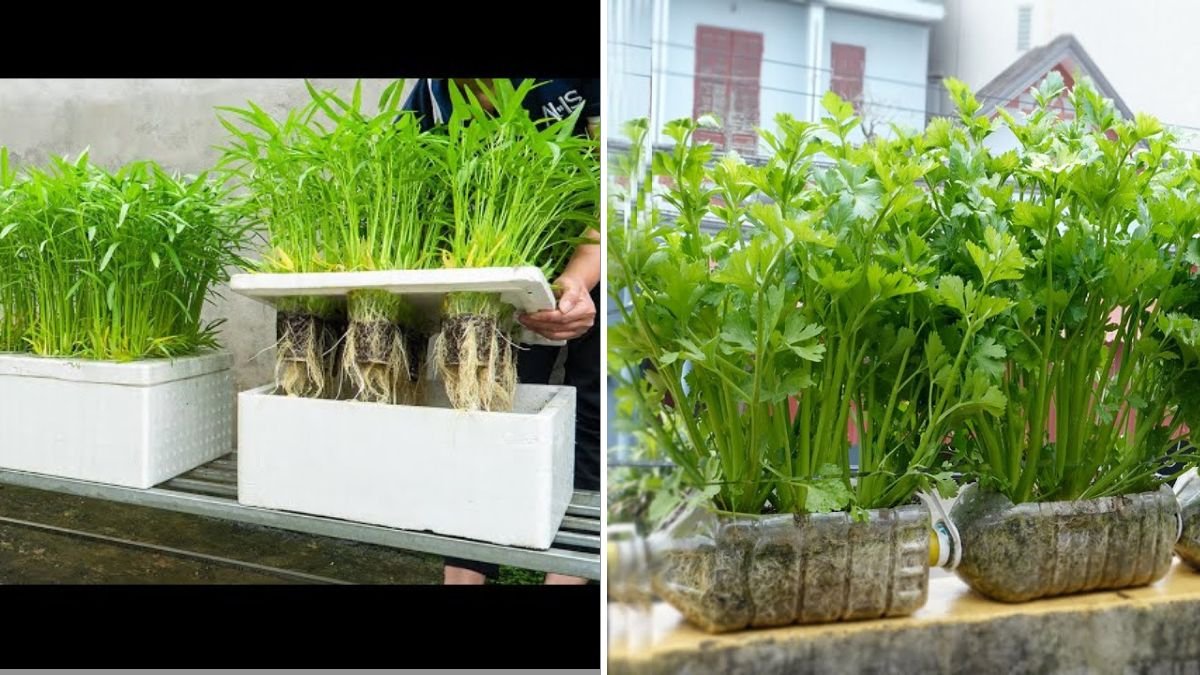
Step 3: Preparing Soil and Containers
Celery prefers nutrient-rich, moisture-retentive soil.
Container options:
- Medium-sized pots or grow bags
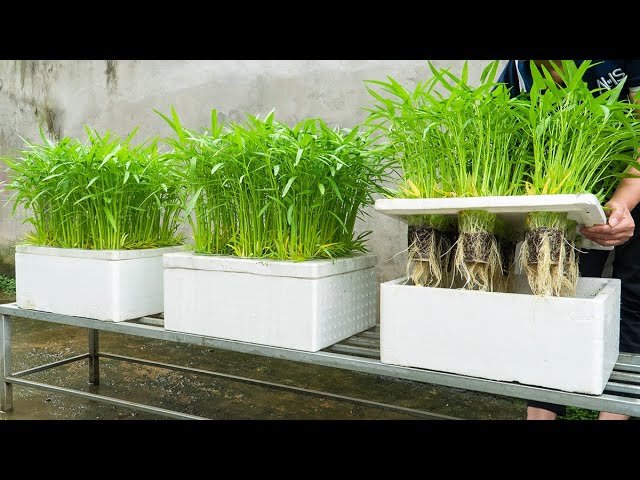
- Recycled tubs, crates, or basins
- Terrace boxes for multiple plants
Soil mix:
- 40% garden soil or loamy soil
- 30% compost or well-rotted manure
- 20% sand or perlite for drainage
- 10% coco peat or peat moss for moisture retention
Tips:
- Ensure containers have drainage holes.
- Celery has shallow roots, so medium depth containers (8–12 inches) work best.
- Mix compost thoroughly to provide continuous nutrients.
Step 4: Sowing Seeds and Transplanting
From seeds:

- Sow celery seeds on the surface of the soil; lightly press but don’t cover completely.
- Keep the soil moist and warm.
- Germination takes 10–14 days under ideal conditions.
- Thin seedlings to 4–6 inches apart once they develop 2–3 leaves.
From regrown stalk bases:
- Plant rooted celery bases in containers with soil.
- Water immediately to settle the soil.
- Space plants 6–8 inches apart for optimal growth.
Step 5: Watering Hacks for Busy People
Celery requires consistent moisture. Irregular watering leads to stringy stalks or bitter taste.
Efficient watering hacks:
- Use self-watering containers for low-maintenance care.
- Mulch the soil with straw, leaves, or shredded paper to retain moisture.
- Water early morning or late evening to reduce evaporation.
- For busy schedules, a drip irrigation system can save time and maintain ideal moisture.
Pro Tip: Celery is about 90% water, so consistent hydration is essential for fast, crisp growth.
Step 6: Fertilization Hacks for 10x Faster Harvests
Celery is a heavy feeder. Regular fertilization accelerates growth:
- Initial stage: Use nitrogen-rich fertilizers for strong leaf growth.
- Mid-growth stage: Switch to phosphorus-rich fertilizer to encourage roots and stalks.
- Mature stage: Apply potassium-rich fertilizer to improve taste, crispness, and color.
Organic alternatives:
- Vermicompost or liquid compost every 2 weeks
- Banana peel powder for potassium
- Cow dung slurry or neem cake for balanced nutrients
These hacks ensure vigorous growth and faster harvests.
Step 7: Sunlight and Temperature Requirements
Celery thrives in cool to moderate temperatures:

- Ideal daytime temperatures: 18–24°C (65–75°F)
- Nighttime temperatures: 12–16°C (55–60°F)
- Requires 4–6 hours of sunlight daily
Tips:
- For terraces with intense sunlight, provide partial shade during peak hours.
- Indoors, place near sunny windows or use grow lights.
Correct sunlight exposure accelerates growth and prevents bitter or tough stalks.
Step 8: Pest and Disease Management
Celery can be attacked by aphids, slugs, and fungal diseases.
Easy hacks for protection:
- Spray neem oil weekly to repel pests
- Use garlic-chili extract for organic protection
- Remove damaged or yellowing leaves immediately
- Maintain air circulation to prevent fungal infections
Healthy plants lead to faster growth and better yields.
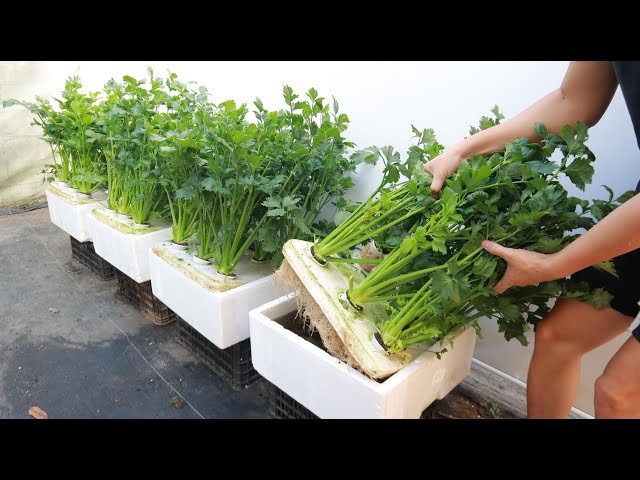
Step 9: Harvesting Celery
Celery can be harvested in 60–90 days depending on variety and growing method.
Harvesting hacks:
- Harvest outer stalks first to allow the inner stalks to grow further.
- Use scissors or a sharp knife to cut stalks, leaving the base intact.
- For regrown celery bases, harvest continuously every 1–2 weeks for a constant supply.
Regular harvesting encourages continuous regrowth and faster yields.

Step 10: Advantages of These Hacks for Busy People
Using these hacks, celery cultivation becomes simple and efficient:
Faster harvests: Regrowing from stalk bases reduces germination time.
Low maintenance: Self-watering containers and mulching save time.
Continuous supply: Frequent harvesting ensures constant availability.
Space-efficient: Ideal for terraces, balconies, and small gardens.
Cost-effective: Minimal seeds and containers required.
Even busy individuals can enjoy fresh, homegrown celery without daily gardening chores.
Step 11: Tips for Maximum Yield
- Keep soil consistently moist but not soggy
- Fertilize regularly with organic inputs
- Mulch to retain moisture and regulate temperature
- Ensure adequate sunlight (4–6 hours)
- Hand-harvest regularly to encourage regrowth
- Monitor pests and diseases and act promptly
These tips help you achieve crisp, tall, and fast-growing celery stalks.
Step 12: Culinary and Health Benefits of Homegrown Celery
Homegrown celery offers numerous uses:
Fresh salads and sandwiches
Smoothies and juices
Soups and stews
Garnishes for various dishes
Health benefits:
- Rich in antioxidants and vitamins
- Helps in hydration and digestion
- Supports heart health and reduces inflammation
Fresh, homegrown celery is more nutritious and flavorful than store-bought options.

Step 13: Conclusion: Grow Celery Faster and Easier
The YouTube video “Easy Celery Growing Hacks for Busy People – 10x Faster Harvests You’ll Wish You Knew Sooner” shows that celery cultivation doesn’t have to be time-consuming or complicated.
By following these hacks — regrowing from stalk bases, using nutrient-rich soil, watering efficiently, fertilizing regularly, and proper sunlight management — you can harvest crisp, fresh celery in record time.
Whether you’re a busy professional, parent, or beginner gardener, these simple hacks make celery cultivation fast, easy, and highly rewarding.