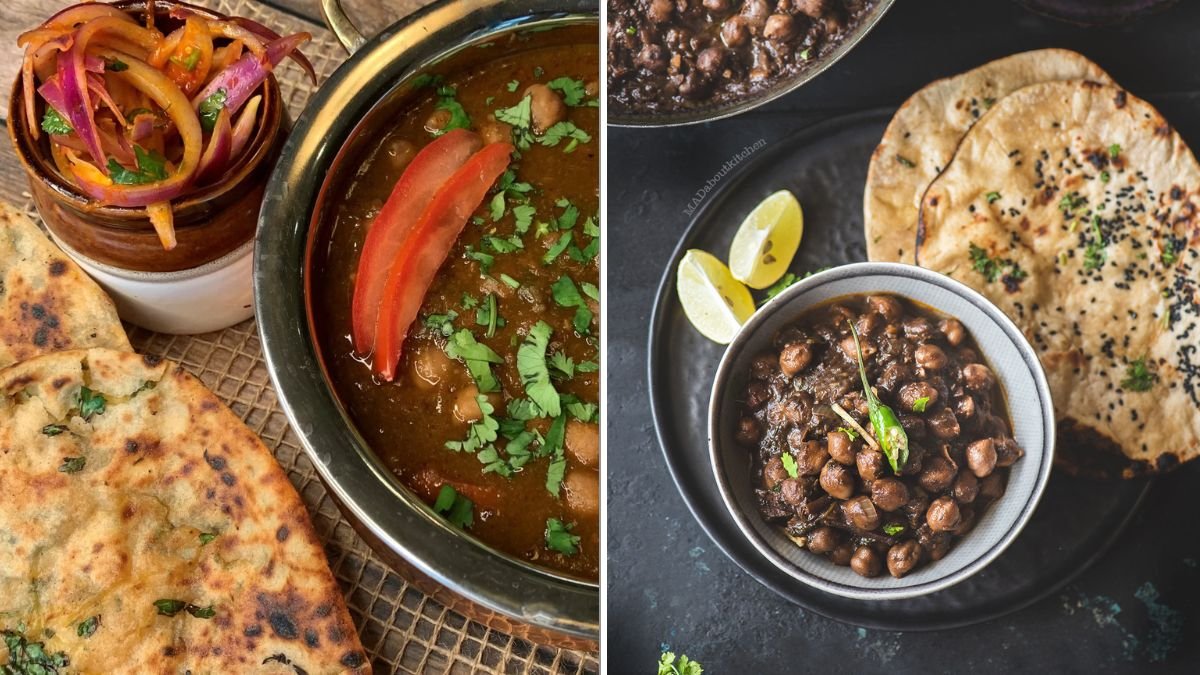
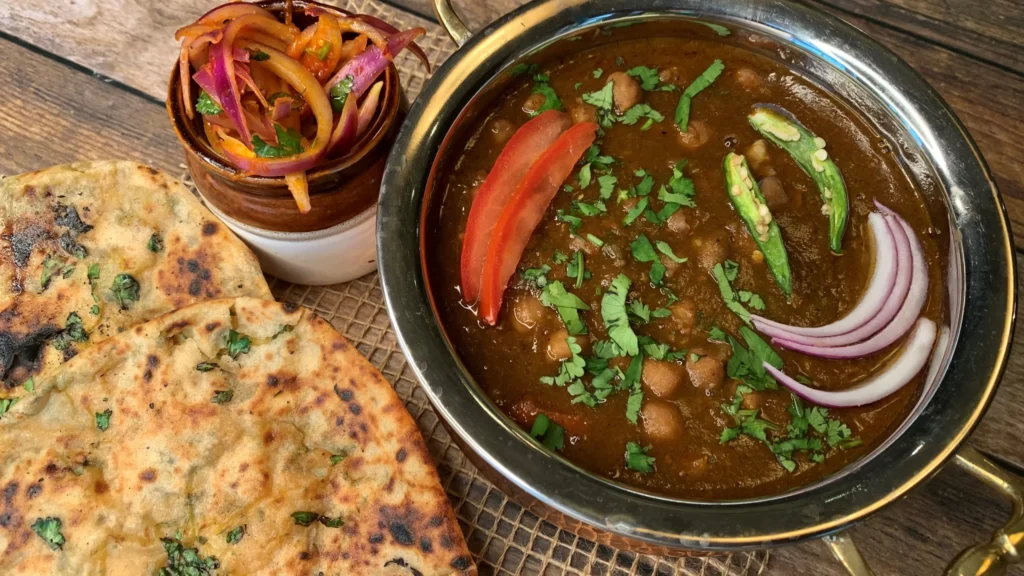
Few dishes capture the heart of North Indian cuisine like Chole Masala—a flavorful, spicy, and aromatic chickpea curry that’s as comforting as it is satisfying. Whether paired with hot bhature, fluffy poori, or plain basmati rice, this classic dish is a staple in Indian homes and street food stalls alike.
Making authentic Chole Masala isn’t difficult, but it does require attention to detail—especially when it comes to spices, cooking technique, and layering of flavors. In this 7-step guide, you’ll learn how to make Chole Masala that tastes just like the one you get at your favorite Punjabi dhaba—rich, tangy, and deeply spiced.
What Is Chole Masala?

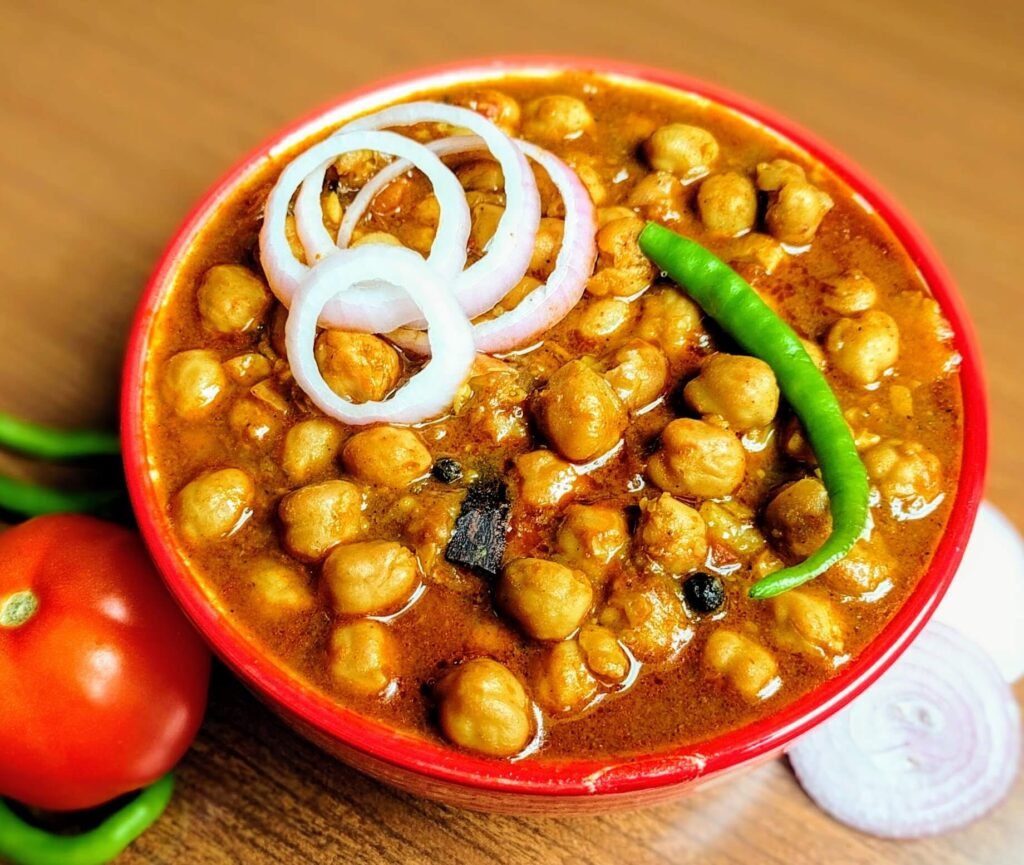
Chole Masala (also known as Chana Masala) is a North Indian curry made from white chickpeas (kabuli chana) cooked in a spicy tomato-onion gravy infused with bold Indian spices.
This dish originated in the Punjab region but is now enjoyed across India—and around the world—for its hearty flavor, protein-rich ingredients, and comforting warmth.
Ingredients You’ll Need
Before we dive into the steps, here’s a list of everything you’ll need to make authentic Chole Masala at home.
For the Chole:
- 1½ cups dried chickpeas (kabuli chana)
- 1 black tea bag or 1 tsp tea leaves (for color)
- 1 bay leaf
- 1 small black cardamom
- 1-inch piece cinnamon stick
- 1 tsp salt
For the Gravy:
- 3 tbsp oil or ghee
- 2 medium onions, finely chopped
- 2 medium tomatoes, pureed or finely chopped
- 1½ tsp ginger-garlic paste
- 2 green chilies, slit
- 1 tsp cumin seeds
- 1 bay leaf
- 1 tsp turmeric powder
- 2 tsp red chili powder (adjust to taste)
- 2 tsp coriander powder
- 1 tsp roasted cumin powder
- 1 tsp garam masala
- 1 tsp amchur (dry mango powder) or juice of ½ lemon
- Salt to taste
- Fresh coriander leaves, chopped (for garnish)
Optional (for extra flavor):
- 1 tsp anardana powder (pomegranate seed powder) for tang
- 1 tsp kasuri methi (dried fenugreek leaves)
Step 1: Soak and Boil the Chickpeas
Good Chole begins with perfectly cooked chickpeas—soft yet firm enough to hold shape.

How to prepare:
- Rinse the dried chickpeas 2–3 times in water.
- Soak them overnight (8–10 hours) in plenty of water—chickpeas expand to nearly double their size.
- Drain the water the next morning and rinse again.
- Add the chickpeas to a pressure cooker with 4 cups of water, 1 tsp salt, 1 tea bag, 1 bay leaf, 1 black cardamom, and a small piece of cinnamon.
- Pressure cook for 6–7 whistles (or about 25–30 minutes) until chickpeas are soft but not mushy.
The tea bag gives your chole a deep brown color, similar to what you find in restaurant versions. Discard the tea bag and whole spices after cooking.
Pro Tip: If you forgot to soak the chickpeas overnight, do a quick soak—boil them in hot water for 10 minutes and let them rest, covered, for an hour before cooking.
Step 2: Prepare the Base Masala
This step is the heart of your Chole—it’s where most of the flavor comes from. A well-cooked onion-tomato masala gives the dish its rich, complex taste.
How to make it:
- Heat 3 tbsp of oil or ghee in a heavy-bottomed pan.
- Add cumin seeds and a bay leaf; let them sizzle.
- Add the finely chopped onions and sauté on medium heat until golden brown. This step can take 8–10 minutes, but don’t rush it—the deeper the color, the richer the flavor.
- Stir in ginger-garlic paste and green chilies. Sauté for another minute until the raw smell disappears.
- Add tomato puree and cook until the oil starts separating from the masala (about 7–8 minutes).
Pro Tip: If the masala sticks to the pan, sprinkle a little water and keep stirring. This process—known as “bhunoing”—helps develop that authentic dhaba-style flavor.

Step 3: Add the Ground Spices

Once your onion-tomato mixture is ready, it’s time to add the dry spices that give Chole its bold, layered flavor.
Add:
- Turmeric powder
- Red chili powder
- Coriander powder
- Roasted cumin powder
- A pinch of salt
Sauté the spices for 2–3 minutes on low heat to release their aroma.
Pro Tip: Never add powdered spices directly to very hot oil—it burns them. Always lower the flame or add them after the masala has some moisture.
Step 4: Combine the Chickpeas and Masala
Now that your base is ready, it’s time to bring everything together.
- Add the boiled chickpeas (along with about 1 cup of the water they were cooked in) to the pan.
- Mix well so the chickpeas are coated evenly with the masala.
- Use the back of a spoon or a potato masher to lightly mash a few chickpeas—this helps thicken the gravy naturally.
- Simmer the mixture on low heat for 15–20 minutes, stirring occasionally.
The key here is slow cooking—this allows the flavors to blend beautifully.

Pro Tip: If your chole is too thick, add a bit more hot water. If too thin, simmer uncovered until it reaches the right consistency.
Step 5: Finish With Garam Masala and Tangy Notes

To bring out the true Punjabi essence, you need the final touch of warm spices and tang.
Add the following toward the end of cooking:
- Garam masala
- Amchur or lemon juice
- Kasuri methi (crushed between palms)
- Anardana powder (optional, for extra tanginess)
Mix well and let it cook for another 5 minutes on low heat. Taste and adjust salt or spice level as needed.
Pro Tip: For restaurant-style richness, you can stir in a tablespoon of butter at this stage—it adds a silky texture.
Step 6: Rest and Garnish
Just like curries and stews, Chole Masala tastes even better after resting for a while.

- Turn off the heat and let it sit, covered, for at least 10–15 minutes.
- Garnish with chopped coriander leaves and fresh green chilies before serving.
This resting period allows the spices to settle and deepen in flavor.
Step 7: Serve With Classic Accompaniments
Chole Masala is best enjoyed piping hot, paired with one of its many delicious companions.
Here are the most popular ways to serve it:
- Chole Bhature: The ultimate Punjabi combination—spicy chole with deep-fried, fluffy bhature.
- Chole with Rice: A lighter, everyday option—serve with plain basmati rice or jeera rice.
- Chole with Poori or Paratha: Perfect for a hearty breakfast or festive brunch.
- Chole with Kulcha: A favorite in Delhi—soft, buttery bread with tangy, spiced chickpeas.
Add sliced onions, a wedge of lemon, and a sprinkle of chaat masala on the side for a restaurant-style touch.
Tips for Perfect Chole Masala
- Don’t skip the soaking: It ensures your chickpeas cook evenly and absorb flavors.
- Use fresh spices: Old or stale spices lose their aroma and depth.
- Bhuno the masala well: This is the secret to achieving that rich, authentic flavor.
- Add tang at the end: Amchur or lemon juice should always go in last—adding them early can dull the spices.
- Rest before serving: Just like biryani, Chole Masala tastes even better after sitting for a while.
- For extra depth: Add a teaspoon of black salt or a dash of tamarind pulp for a bold twist.
Health Benefits of Chole Masala
Aside from being delicious, Chole Masala is also packed with nutrition:
- High in protein and fiber, keeping you full and energized.
- Rich in iron and folate, supporting overall health.
- Naturally vegan and gluten-free, making it suitable for a variety of diets.
You can make it lighter by using less oil or skipping the butter without losing much flavor.

Final Thoughts
Chole Masala isn’t just a dish—it’s an emotion. From busy Delhi food stalls to Sunday family lunches, its aroma fills the air with warmth and nostalgia.
By following this 7-step guide, you’ll create a bowl of Chole Masala that’s perfectly balanced—spicy, tangy, and bursting with authentic Punjabi flavor.
So next time you crave something hearty, skip the takeout—grab your chickpeas, fire up the spices, and make this classic right at home. One bite, and you’ll know why Chole Masala will always be one of India’s most beloved dishes.